
A feeler gauge is a tool that is used to measure gap width. Here in the following guide, we are going to learn how to read a feeler gauge. Gauges establish a distance between two points. The device consists of multiple sheets or wires sized to exact dimensions marked on the surface of each blade or at the base of each cable.
Setting the spark plug gaps with a feeler gauge determines how well your vehicle performs. An auto mechanic uses a caliper to measure the distance between two surfaces.
Measurements that involve the use of a feeler gauge are generally very small and are always very accurate. Auto repair technicians need accurate gap measurements when working with spark plugs, distributors, or valves.
As well as, when repairing or replacing spark plugs, a technical service center measures or establishes the distance between two electrodes by using a feeler gauge.
Gauges come in groups, called sets, which are made up of short metal sheets of varying thickness. Gauge blades vary in thickness from 0.008-0.026 inches and, in metric measurements, between 0.203 and 0.66 millimeters.
Let us learn more about a feeler gauge.
What is Feeler Gauge?
A feeler gauge is also called as thickness gauges. It is a mechanical measurement tool that helps to measure gaps between two parallel surfaces. This is one of several models of calibrators available on the market today.
However, it is used to measure the clearance (that is, space) between pieces of different equipment, helping to adjust, adjust, and replace these components. Although it is composed of several blades with different thicknesses, the gap gauge has a very simple operation.
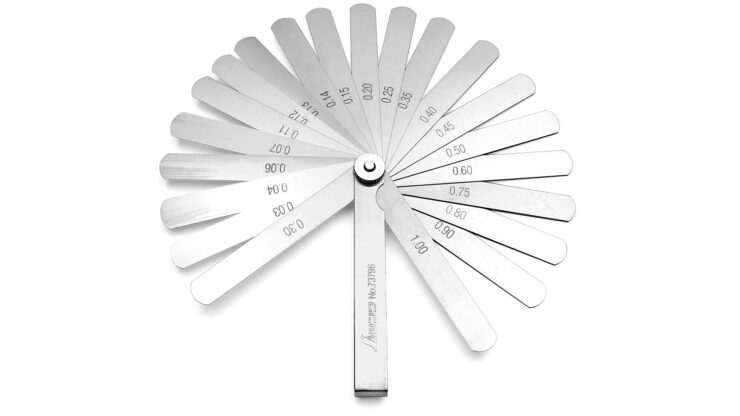
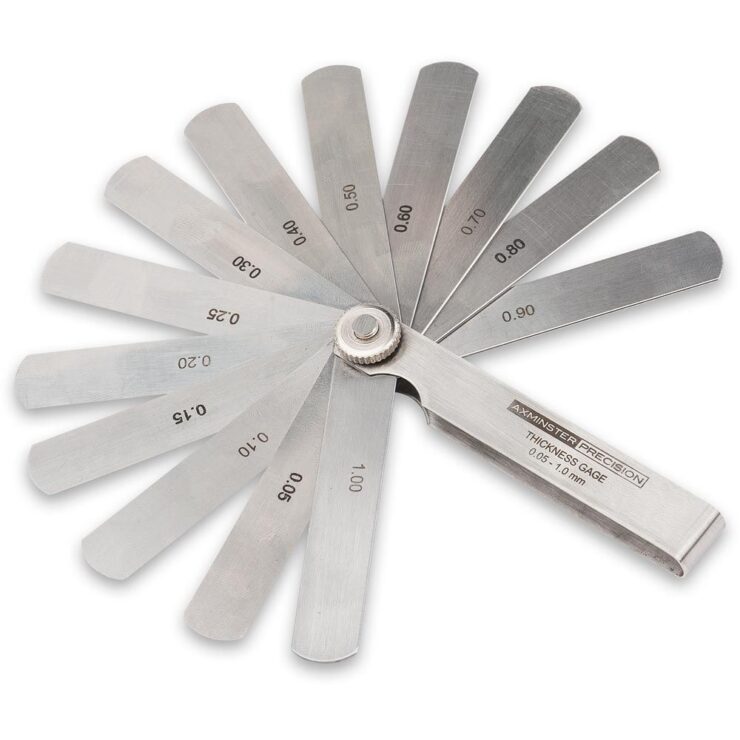
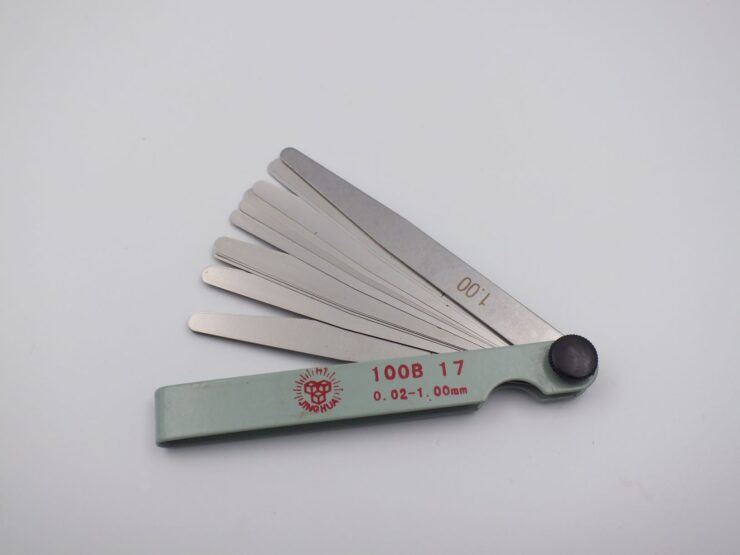
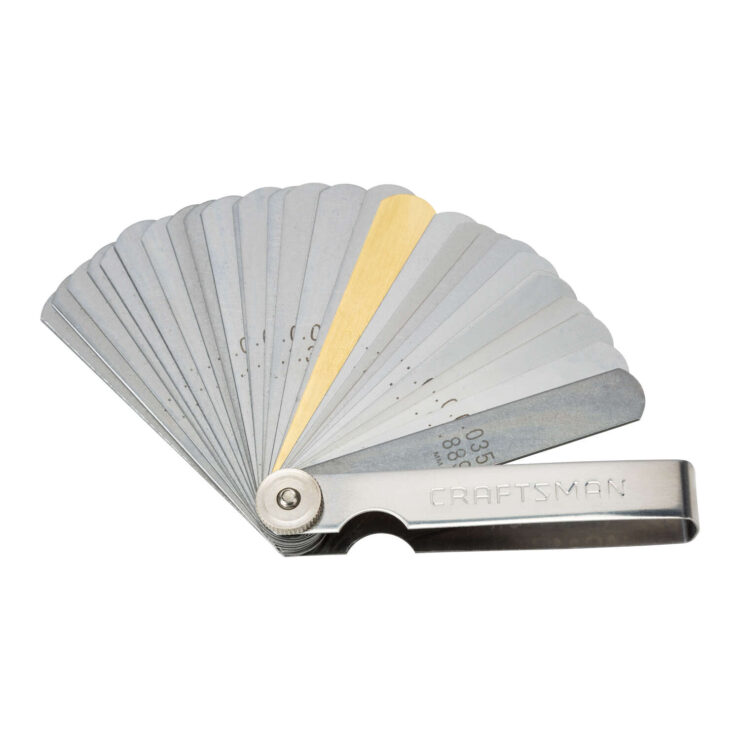
On the other hand, the most common gap gauge to be found has a set of fan-shaped blades – however, the number of blades, the diameter, and the thickness of each blade vary.
There are models in different formats (for example, with single blades or in the form of a roll) and also the radius calibrators used to measure concave or convex rays.
Both instruments are very useful for toolmakers, mechanics, automatic lathes operators, modelers, and professionals in related fields.
How to Read a Feeler Gauge- 5 Steps Process
If we repair a pipe without knowing how to identify the type of thread in a pipe connector, we will be in trouble. Installing the wrong type of connector can ruin the thread or cause anything from tiny water leakage to considerable gas leakage, with the associated risk.
For this reason, it is essential to ensure that we properly identify the threads with which we are dealing, and for this purpose, it is convenient to follow a simple methodology to read a feeler gauge.
01. Determine if the Thread is Male or Female
This check is visual. Any male threaded part has an external thread, while a female threaded part has an internal thread. However, many fittings and elbows include both types of threads. The figure below represents an example of each.
02. Determine if the thread is Cylindrical or Conical
Let’s also remember that cylindrical threads are UNC / UNF, BSPP, and metric, while conical threads are NPT and BSPT, although occasionally there may be tapered metric threads.
03. Measure the Diameter of the Thread
In a similar way to the previous case, we use the gauge to measure the external diameter of a male thread or the internal diameter of a female thread, taking into account the following detail:
If the thread is cylindrical, we measure any thread from crest to crest. Whether the thread is tapered, we measure the fourth or fifth thread from crest to crest.
04. Measure the Pitch of the Thread
This measurement will give us the number of threads per inch on UNC, UNF, NPT, BSPP, and BSPT threads, and the distance in millimeters between two consecutive ridges on metric threads.
There are several ways to measure the pitch of a thread, although in the case of pipe threads, the most convenient is by using a thread gauge.
05. Identify the Thread
Now it only remains to gather the information from the previous measurements and, with that data, correctly identify the thread or pipe connection.
Different Types of Feeler Gauges
There are different types of feller gauges:
Fan Relief Calibrator
The fan-shaped gap gauge is used in the manufacture and maintenance of automotive aviation equipment, etc., Made of tempered alloy steel.
Slope Calibrator on Spare Blades
Widely used in checking gaps or shims in adjusting mechanical devices. Made of tempered alloy steel, with an average length of 300mm and a width of 13mm.
Roller Slack Calibrator
Usually cut to a desirable length and used for clearance checking or adjustment of mechanical devices. Made of tempered alloy steel and 5m long and 13mm wide.
We generally used to adjust tappets, valves, distributor points, check gears, and bearing clearances.
Automotive Use
Purchase a quality gauge system for use in automotive work, as well as any application where gaps need to be measured. Feeler gauges are multiple blades of varying thickness that are often attached with a bolt as a pivot point. These blades can be used to measure gaps in spark plugs, and valve settings in the automotive field and are often used to measure gaps in parts manufacturing.
Place the gauge in the hole in the tip of a spark plug. Use the size indicated for the size of the gap, according to the manufacturer. If the gap is too wide, adjust the spark plug so that the feeler gauge is tight but can slide in and out of the gap freely. If the gauge does not fit, increase the gap enough so that the gauge fits snugly.
Manufacturing Use
Buy a set of precision gauges for measuring difficult to reach gaps in some parts. These feeler gauges come in a variety of sizes, from 0.0015 to 0.035 inches.
They are often graduated by 0.002 inches and can hold 20 sheets. These are perfect for hard to reach areas where your calipers cannot be satisfied to measure. Often there are parts with multiple small areas that need to be measured, which has to be exact but is measured quickly and consistently. Often the same blade can be used to quickly measure thousands of parts while they are still on the machine.
Use the gauges to adjust the height of the tool on a CNC machine. Many older CNC machines lack a tool probe, so the tip of the tool must be measured and zeroed at a certain point.
Machinists often use a precision tool block to measure from the top of the worktable. Bring the tip of the tool to just above the block and slowly lower it over a feel gauge until the gauge is no longer strokes but is not fully clamped down. Enter the size of the block plus the thickness of the feeler gauge so that the machine can compensate and set a zero-tool tip point.
How to Use Feeler Gauge
Gauges have multiple uses in automotive manufacturing work. Many machinists use these types of gauges daily, and a mechanic cannot be without a set of tune-ups. Whether you are looking for that perfect spark plug gap or precision in your parts, feeler gauges, used effectively, can be a must.
Although it is composed of several blades with different thicknesses, the gap gauge has a very simple operation. Understand this section.
The gap calibrator, specifically, can be used to adjust rings, tappets, pistons, and calibration pins, as well as to check gears and bearings for gaps and the spacing of the electrodes in a spark plug.
Using Feeler Gauge
Are you confused about how this instrument works? See the step by step below, where we use as an example the measurement of a spark plug:
- Take the candle and the calibrator
- Observe the space between the electrode and the electrode mass
- Choose one of the blades and try to position it in this range
- If the chosen blade does not fit, try a thinner one
- However, if you have space left, use a thicker blade or even two blades
- When the instrument fits perfectly, you will have the exact measure of the gap between the two parts
It is worth noting that all gap gauges have thickness measurements recorded on the blades – that is, it is quite easy to view the information.
How to Choose a Clearance Gauge?
Now that you know that there are different models of gap gauge, you need to evaluate which is the most suitable for the equipment you want to measure.
The calibrators with separate blades and in the form of a roll are suitable for checking gaps or shims during the work of adjusting mechanical devices.
The fan-shaped model is often used to manufacture and maintain automotive aviation equipment. However, as explained above, it can also be used in the measurement of car spark plugs.
How to Gap Spark Plugs with Feeler Gauge?
The spark plug comes into play in charge of supplying the ignition sparks to ignite the fuel in the combustion chambers.
But it is not the only function they perform: they also take care of alleviating the heat which is generated in the combustion chamber to the cooling system.
Did you know you can easily gap spark plugs using a feeler gauge? Follow these steps:
Step 1: Examine Gap Meets Specifications
By using the feeler gauge to examine the gap of spark plug meets the spec for your car or any other vehicle. You have to adjust the gap of the spark plug from its out-of-the-box state.
Step 2: Twist Ground Electrode
To alter the spark gap, twist a little, the ground electrodes away or toward the center electrodes.
Step 3: Now Use Any Other Tool if Required
We already have a spark plug gap tool, but sometimes small-sized pliers, wrenches, or mallets also can be used to correct that gap slightly.
Step 4: Place Gauge Between Electrode
Make sure to check the gap again by putting the feeler gauge between those two electrodes. That gap must connect the specification of the vehicles so that the sparks plugs can efficiently fire.
Feeler Gauge Conversion Chart
However, the precision feeler gauge is an instrument for measuring the thickness in sheet metal, films, or other materials by differential measurement.
They consist of U-shaped support (similar to that of the two-contact outer micrometers), on which the two measuring contacts are housed; one fixed and the other mobile connected to a mechanical dial gauge.
Actual measurement contacts can take various forms: planes, rollers, plates, etc. The measuring range of these precision thickness gauges is similar to that of mechanical comparators and can vary from 1 mm to 30 mm.
Moreover, the thickness gauge usually has a resolution ranging from 0.001mm to 0.1mm.
Following the Feeler Gauge Conversion Chart
|
Imperial |
Metric |
|
0.0015 inch |
0.04 mm |
| 0.002 inch | 0.05 mm |
| 0.0025 inch | 0.06 mm |
| 0.003 inch | 0.08 mm |
| 0.004 inch | 0.10 mm |
| 0.005 inch | 0.13 mm |
| 0.006 inch | 0.15 mm |
| 0.008 inch | 0.20 mm |
| 0.0010 inch | 0.25 mm |
| 0.0012 inch | 0.30 mm |
| 0.0014 inch | 0.35 mm |
| 0.0016 inch | 0.40 mm |
| 0.0018 inch | 0.45 mm |
| 0.0020 inch | 0.50 mm |
| 0.0022 inch | 0.55 mm |
| 0.0024 inch | 0.60 mm |
| 0.0026 inch | 0.65 mm |
| 0.0028 inch | 0.70 mm |
| 0.0030 inch | 0.75 mm |
| 0.0032 inch | 0.80 mm |
Conclusion
We are sure now you have learned properly how to read a feeler gauge. This tool is produced and tested according to specific standards.
However, its use can be specified in adjustments of tappets, spark plugs, distribution points, checking gaps in bearings and gears, adjustment of pistons, rings, and pins for calibration of narrow channels—assists in controlling the clearance of various equipment.
It is mainly used when measuring the gap between the segment ring and the piston of an endothermic combustion engine or the gap between two gears.
Due to their large load capacity, they are used to support high loads and must be assembled with a strong adjustment. When the inner or outer ring is properly fixed, the ring moves freely, being able to move in the radial or axial direction. And it is this displacement that we call radial or axial internal clearance.